Embark on a rewarding journey from bean to brew. This guide is tailored for the home coffee enthusiast who's ready to harvest their own coffee plants. Discover the essentials of coffee bean harvesting—a process that turns your garden’s mature cherries into a rich, home-brewed cup.
Understanding the Ripening Process
Let’s start with the basics: knowing when your beans are ready. Here's what to look out for:
- Colour Change: Keep an eye on those coffee cherries. When they go from green to a vibrant red or yellow, it’s showtime!
- Texture: Give them a gentle squeeze. If they feel a bit soft, they’re just right.
- Observation: Stay curious and keep checking those plants. Ripeness can vary depending on the weather, so be your own local coffee weather forecaster.
Determining the Right Harvest Time
Timing is everything! For popular beans like Arabica and Robusta, you'll want to start harvesting when most cherries look ripe and colourful. Keep in mind, if you're in a cooler or higher place, those cherries might take a bit longer. And a pro tip – aim for a dry day to make your harvesting a breeze and kickstart the post-harvest process.
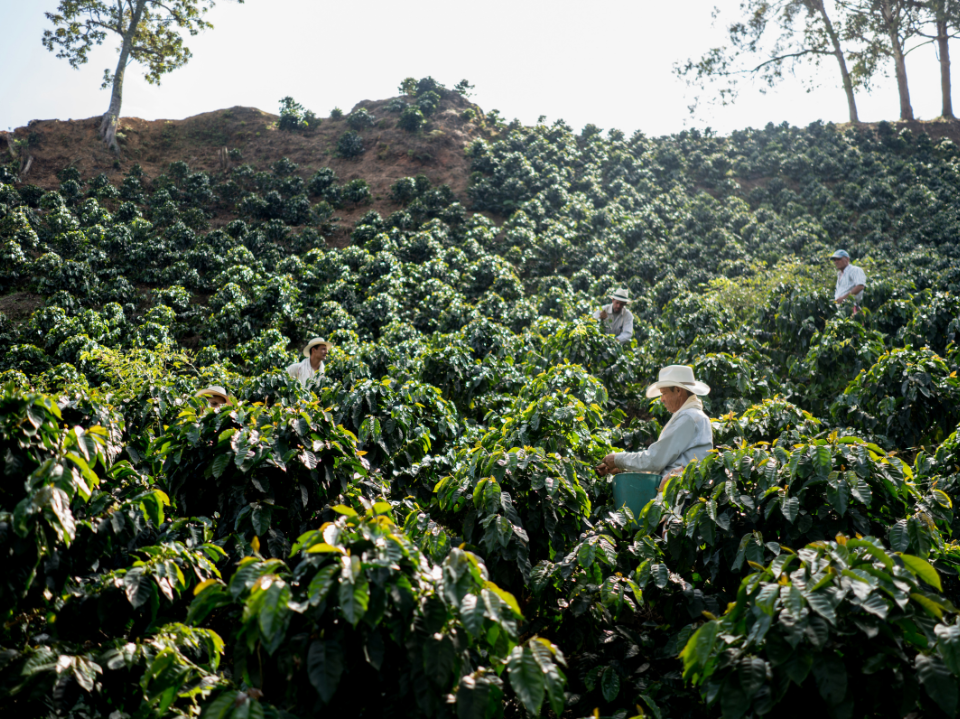
Hand-Picking vs. Stripping
Ready to pick? You have two main options:
- Hand-Picking: This is like going on a mini treasure hunt in your garden. It's a bit more work, but picking the ripe ones by hand is super satisfying and great for flavour.
- Stripping: In a hurry? This method lets you take off all the cherries at once. It's faster, but you might get a mix of ripe and not-so-ripe cherries.
Tools Needed for Coffee Bean Harvesting
You don't need a lot to get started – just a sturdy basket or container for the cherries, and some gloves to keep your hands in tip-top shape. These simple tools will make your harvesting experience a whole lot smoother and more enjoyable.
Harvesting Techniques for Quality Beans
When you’re picking, it's all about the twist and pull. Be gentle with those ripe cherries, and try not to bother the ones that aren’t ready yet. This careful touch helps ensure a great harvest now and healthy plants for next season.
Sorting and Selective Harvesting
After the picking party, it's time to sort your bounty. Group the cherries by how ripe they are. This helps with the drying and processing later on. And hey, if some cherries don’t look up to scratch, it's okay to let them go.
Post-Harvest Processing
Now the transformation begins! Start with hand pulping to get those beans out. Then, let them ferment for a day or two to help get rid of the sticky “mucilage” substance. A good rinse after that, and you're on your way to some amazing flavours.
Drying Coffee Beans
Drying is where patience pays off. Lay out your beans under the sun, turning them now and then for even drying. Keep them safe from rain and excess moisture. This step is super important for getting them ready for a delicious roast.
Storing Harvested Coffee Beans
Storing your beans is easy – just keep them in an airtight container in a cool, dry place. Stay away from too much humidity or heat to keep those flavours fresh and ready for brewing.
Quality Control Measures
Keep an eye on your beans through the process. Regular checks for ripeness, drying, and storage are key to great coffee. And the fun part? Taste testing! It’s the best way to see how your hard work is shaping up.
The Rewards of Coffee Bean Picking
Harvesting your own coffee beans is a fun and fulfilling adventure. By giving each step some attention and care, you’ll not only enjoy the process but also the unique satisfaction of brewing coffee from beans that you’ve personally grown and processed. Welcome to the ultimate home coffee experience!